Monday, February 23, 2015

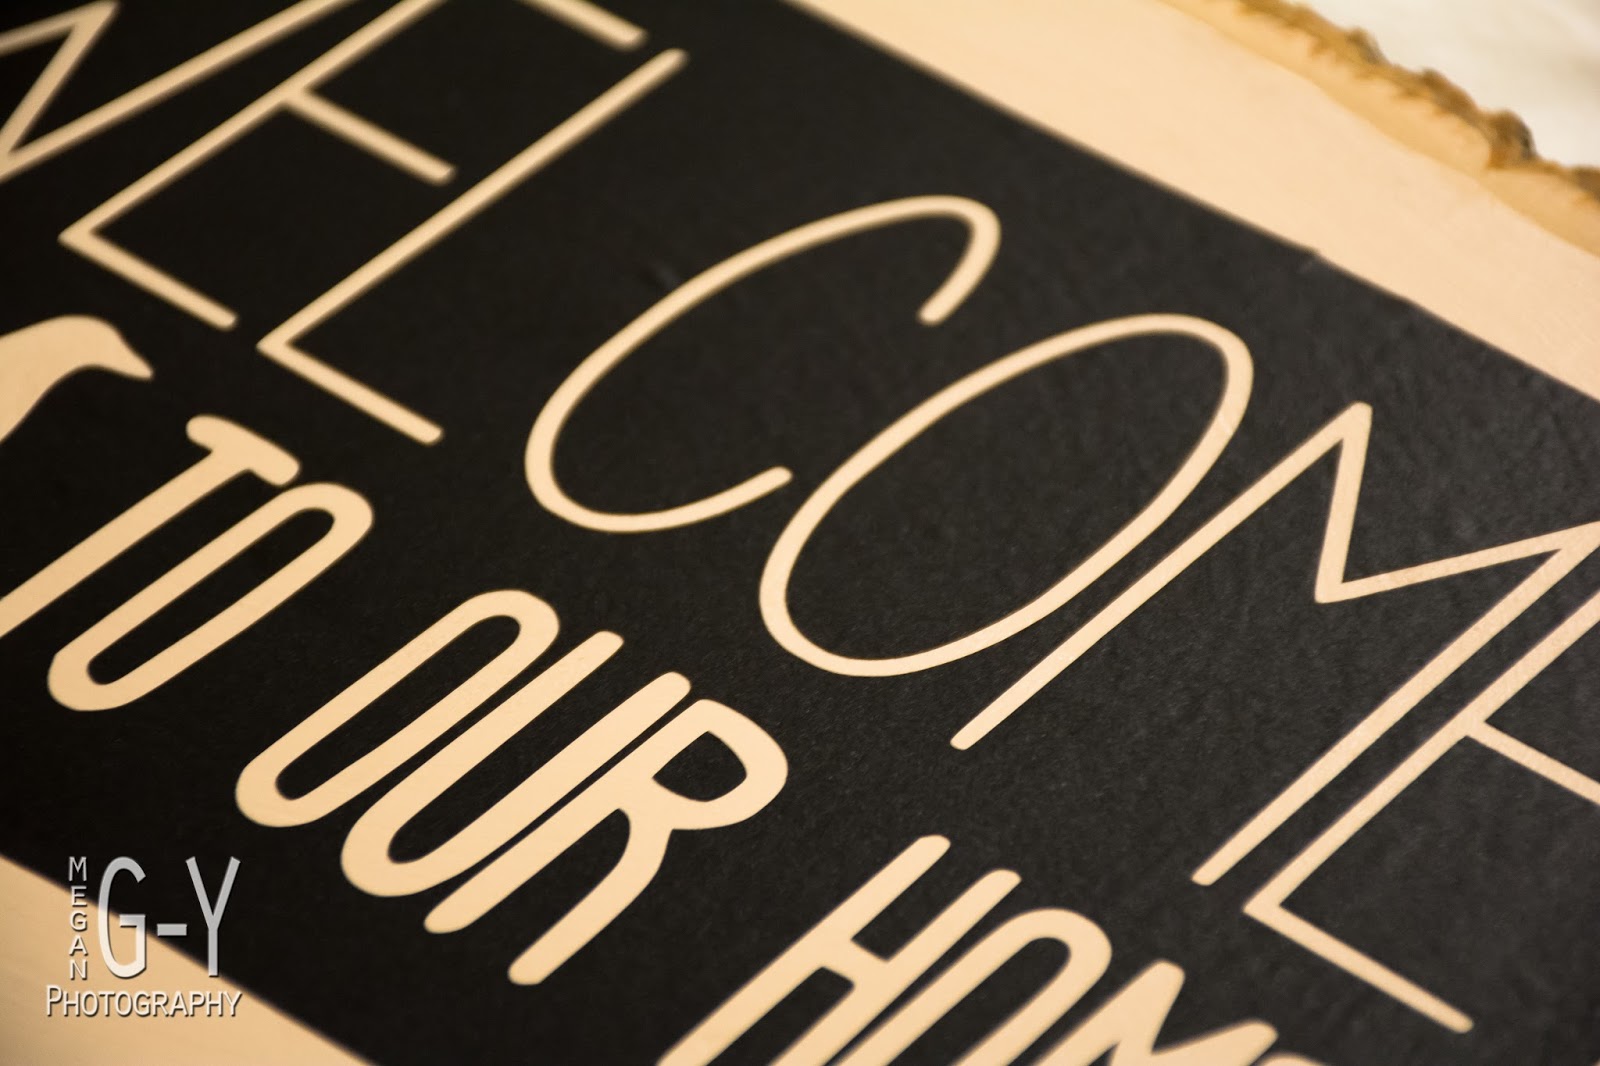
Painted front door sign

My front door has been bare since I put away the Christmas decorations. I wasn't sure what I wanted to put up afterward because I'm not a big fan of the DIY burlap or fabric wreaths that seem to be in fashion right now. A painted wood sign was calling my name for a number of reasons. First, an excuse to use my Silhouette machine to cut some vinyl (and create a custom design). And second, being a military family, we move quite a bit and it's nice to make things that the movers are unlikely to break due to poor packing. I like some of the beautiful spring wreaths in Michaels and JoAnn's, but they definitely wouldn't survive more than one move.

I was inspired by a whole bunch of Pinterest finds but most of them use chalkboard paint as the background. I wanted to go in a different direction, even if that means no flexibility in changing the text, unless I repaint it of course. I hope you enjoy this project as much as I did!


So off I went to JoAnn's. I grabbed some twine, a round piece of basswood (like this), and some outdoor acrylic paint. Grabbed some foam paint applicators as well for the stenciling. 

I was eager to get started so as soon as I got home I got to it. Cut some twine and tied some quick knots and used a staple gun to attach to the back. I brushed the dust off the wood and immediately got a coat of the cream paint on it. Waited about an hour and put a second one on. It took more paint than I was expecting so I think a lot of the first coat soaked into the wood.


I wanted to give the background paint a solid day to dry before putting the vinyl stencil on it, so I tackled the design next. I toyed with some traditional script fonts, but that really isn't my style. I finally settled on something really simple. I sized mine to fit my piece of wood, so resize if you need to. I printed out a copy on regular printer paper to make sure it's the right size.

Download the Silhouette file here
Fast forward to a day later. The cream paint is nice and dry so I made the stencil out of some Silhouette vinyl. Used transfer tape to get it onto the wood after weeding out the letters. I was a little worried about the vinyl sticking well to the wood so I smoothed the thing like crazy before pulling the transfer tape off. And even more smoothing after,


See that little bubble adjacent to the C? That guy's got to go!!

Once I was done smoothing, I added a border of blue painter's tape in case I went too wild with the black paint. Then I got to work with some black outdoor acrylic paint (same brand as the cream I showed you earlier. I ended up using whatever paint brushes I found in my craft drawer. Sponge applicators didn't seem like the right tool for this one.


I did two light-ish coats. I was really impatient so I don't think I waited more than about 15 minutes between layers. But it looked pretty dry. And it was Monday night and I was really tired :)

Once the second layer was sorta dry, I started carefully peeling everything off. I was nervous because I had read about some people losing some of their background paint to the vinyl, but that definitely wasn't a problem for me. I didn't lose even a flake of the cream paint. All that's left to do in the photo below is to weed out the centers of the Os. I used the tip of a pocket knife because the Silhouette tool left a little indentation in the wood when I tried to use it.


There is a tiny amount of bleeding, but I won't be losing any sleep over it. Overall, the lines are really crisp and it turned out exactly like I was hoping it would!


I think the bird is my favorite part! I'm debating about whether to give it a coat of matte sealer or not. My front door is fairly protected, although the Arizona heat and sun are absolutely brutal. I guess I'll just move it inside if it looks like it's fading.

Sunday, February 8, 2015

DIY Etched Olive Oil Bottle

Years ago, I bought quite a few pour spouts to add to reused wine bottles in my kitchen. I found it handy to have some olive oil and some vegetable oil next to the stove. I don't remember exactly where I got them, but they look similar to these.

Originally, I had a piece of tape on the bottom of each bottle to remind me which kind of oil was in each bottle. Now that I have a Silhouette machine, I took this as an opportunity to try out some glass etching. I bought all the supplies from Amazon (vinyl, transfer paper, etching cream, etc.) and used a couple different websites for the details (see this one and this one). Follow the link below the screenshot to get the file I used in Silhouette Studio. It's for personal use only- please don't use it for commercial ventures. I measured my wine bottle beforehand to determine the right size.
If you're more of a canola/corn oil user, I made one of those too.

Download the file for Silhouette Studio
I rinsed the cream off after about 5 minutes and wasn't sure that it worked. It's sorta hard to tell until you take the vinyl off. To be safe, I repeated a second time. After rinsing the cream and removing the vinyl, I was thrilled! The vinyl produced very clean lines and the bottle looks awesome.


Tuesday, January 27, 2015

Machine Sewing for Boy Scout Merit Badges


So, my darling husband is an Eagle Scout and has mentioned several times that he'd like to be able to put together a shadow box with all his Scout stuff. Military folks are generally big fans of shadow boxes, and he's no exception. And since he bought me an awesome new sewing machine for Christmas, I agreed to tackle his completely empty sash and giant pile of merit badges. I'm still unclear about why this wasn't done years ago but he tells me his troop wasn't big on uniforms.

I've never tackled patches before so I did some googling to see what the best method was for sewing them on. I was disappointed in the lack of info, but found just enough to give it a whirl.

I picked up some transparent thread (Sulky 232 2001) and some dark green thread (943 1272) to match the sash from JoAnn's. Loaded the green in the bobbin and the transparent in the top of the machine.


I ironed and starched the sash since it had some pretty deep creases. There is apparently no right or wrong way to lay them out, so I put the required ones (silver binding) down the middle and the others on either side. After laying them all out, I stapled them in place instead of fighting with pins. Some of the patches are thicker than others and I don't think straight pins would work very well. The staples come out pretty easily and don't leave any marks behind on the patch. My recommendation is to put two staple in each patch to really keep them in place. See the first aid patch in the first photo. I only used one staple in the first couple and they shifted a little while I was sewing. I couldn't find a staple remover in the house, so I used a Leatherman- my Eagle Scout isn't the only handy one in this family!

I used a simple straight stitch (using my machine's default settings) to slowly stitch in a circle, just inside the binding of the patch (see photo below). I can't stress enough to take it slowly. They're small, but it is possible to sew a pretty good circle. I was really thankful my machine has some time-saving features like a knee lift and an automatic thread cutter. I sewed each patch individually, but it probably would look fine if you did a whole row without lifting your needle. Or wait to cut the extra thread between patches until the very end. I'm sure there are some time-savers that you could incorporate.

That's it! It was really time-consuming, but the sash looks awesome and you really can't see the stitching at all. Next project- the uniform shirt.